
Leading lines photography with a phone
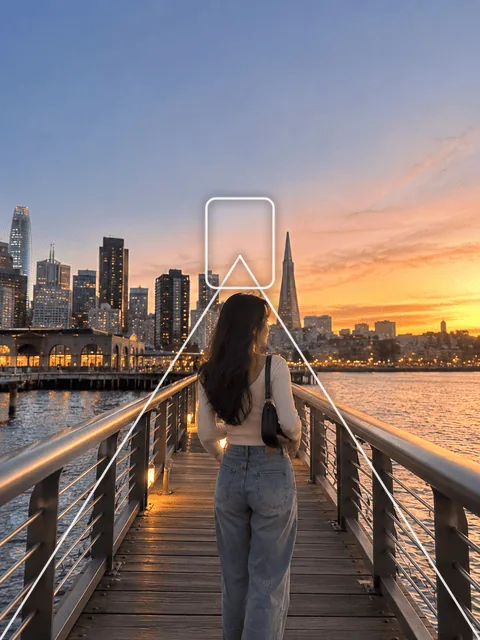
Leading lines are lines in the scene, like a path, a railing or a row of lights, that pull the eye through the photo to your subject. They add depth and make a flat phone photo feel like you could walk into it.
Find the lines
Roads, sidewalks, railings, bridges, fences, rows of trees, train tracks, shelves, a table edge, even the shadow of a building. Once you look for them, they are everywhere, in cities most of all.
Start at the bottom, end at the subject
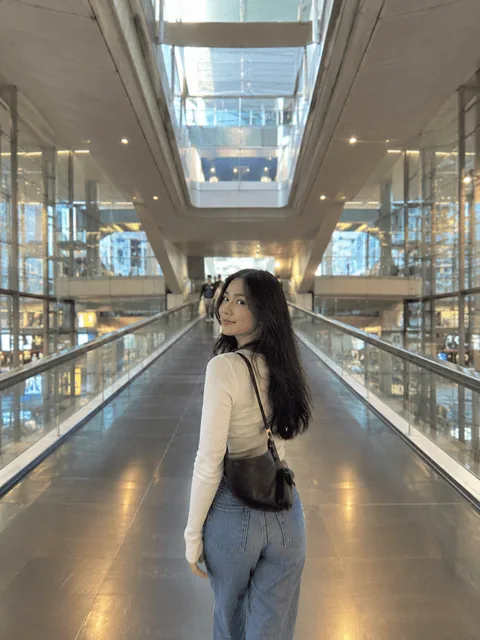
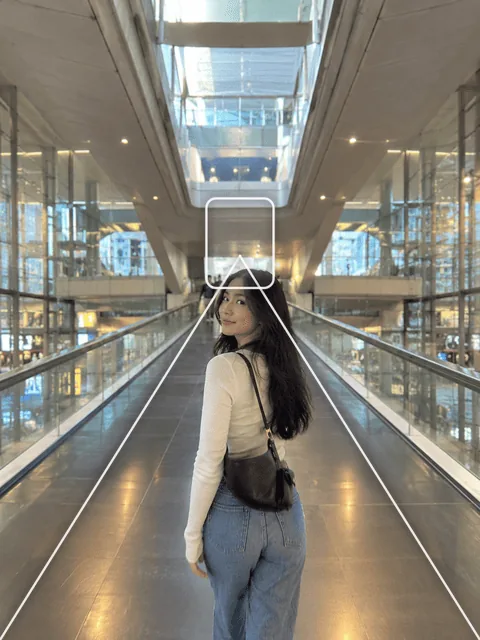
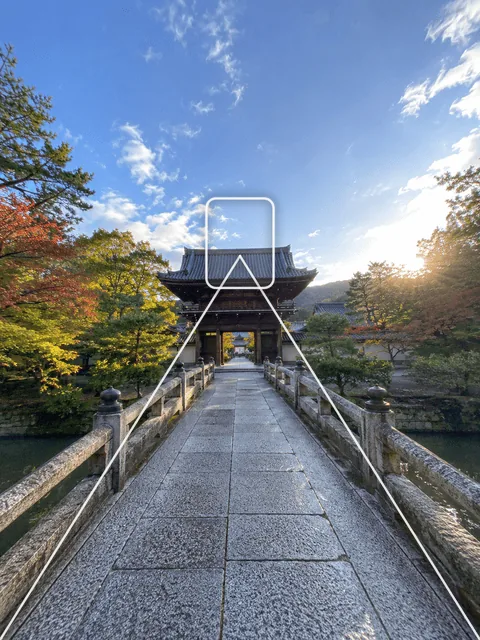
The strongest lines enter from the bottom edge or a bottom corner and meet at (or point to) your subject. Put the subject where the lines meet, and keep it there while you frame.

Get low and go wide
Lowering the phone close to the ground makes the lines longer and stronger. The phone's wide lens (0.5×) stretches them even more, but keep the phone straight so verticals don't lean.

Indoors, too
A long table, a counter or a row of hanging lights in a cafe works the same way. Shoot along the line instead of across it.


Common mistakes
- Lines leading out of the frame take the eye away from the subject. Turn until they point in.
- No subject at the end. Lines alone feel empty; put a person, a doorway or a light where they meet.
- Too many lines. Pick the strongest one or two and keep the rest out.